Based on the build guide from IB Crazy on RC Groups I built a Helical antenna for 5.8GHz FPV.
Assembly
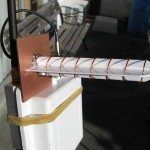
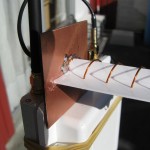
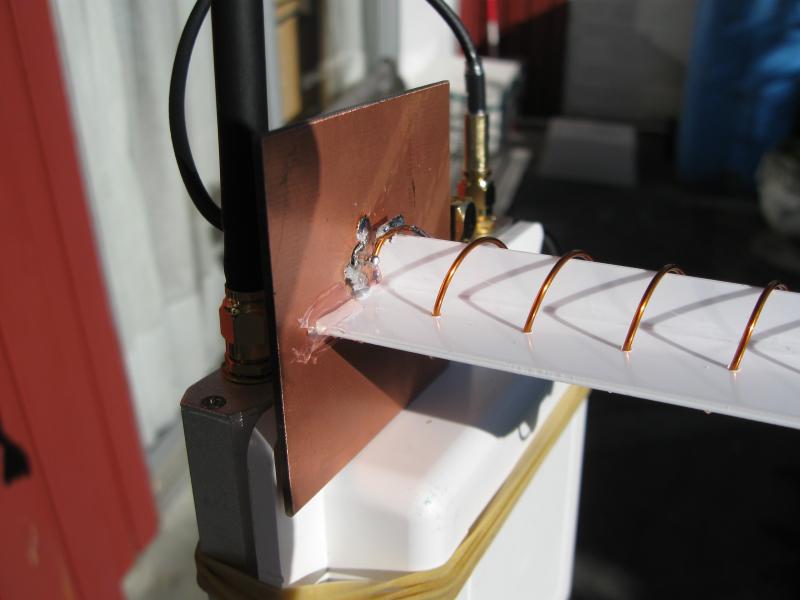
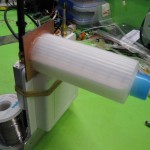
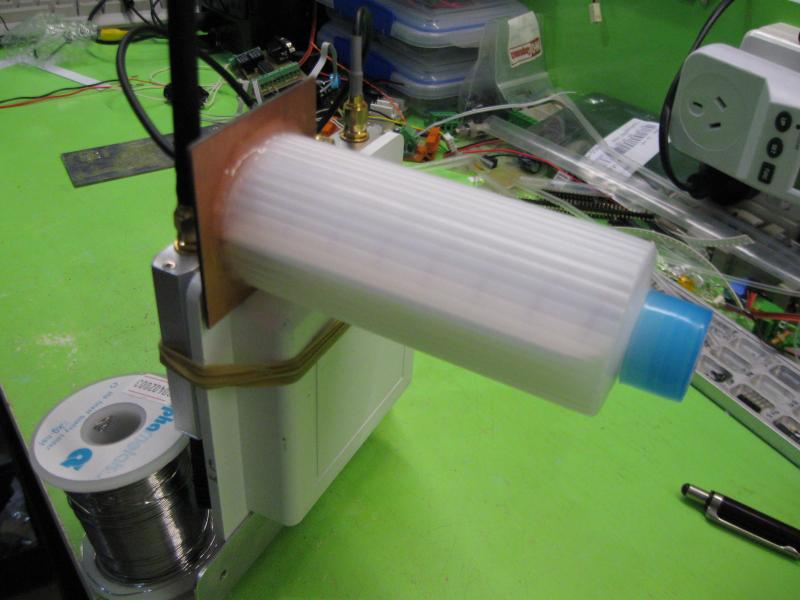
All up it took almost 3 hours with a few breaks waiting for glue to dry. The reflector is double sided copper laminate (because I had a couple of scraps), the former is 1mm plastic sheet and the coil wire is 0.8mm enamelled copper. The coax is an off-cut from a GPS antenna with a SMA connector to match the video receiver. To protect it a small plastic bottle with the bottom cut out.
The impedance matching tab is a small piece of very thin copper tape soldered to the coil just up from the feed point. The positioning on the coil was not very accurate; just by eye, approximate. The tab it so small it’s difficult to position accurately as a final step.
The coil was would around a marker pen and then wound into the former. The coax soldered to the reflector and then the former and coil hot-glued to the reflector. The most difficult parts are scratching the enamel from the coper for soldering and attaching the impedance matching tab to the coil at the feed point.
-
- Almost Done

-
- Attached to the patch
-
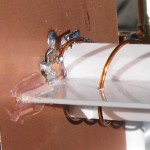
- Feed Point detail

-
- Finished
-
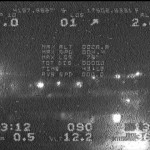
- Test image at 20 meters
-
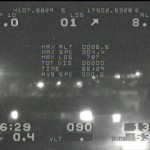
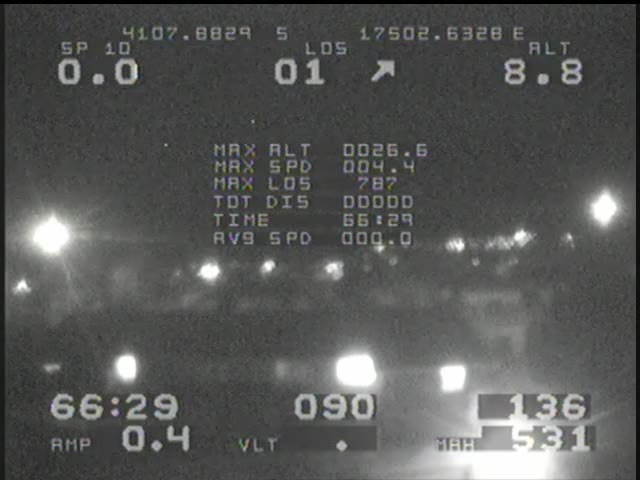
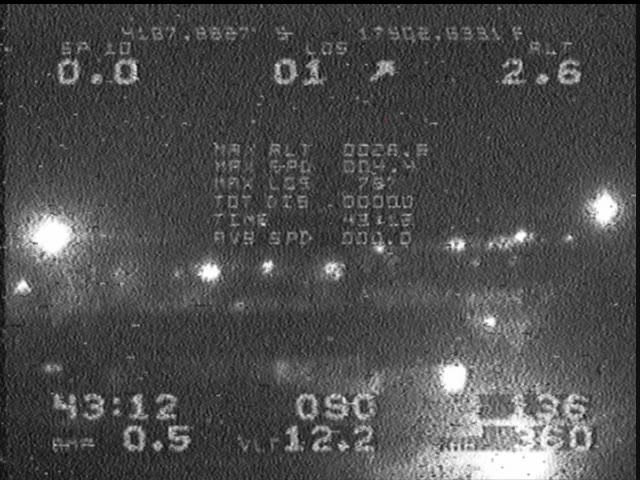
- Test image at 4.4KM
The former controls the diameter and spacing of the coil quite well and I used a spreadsheet to work out the dimensions for the frequency of the 5.8G channel I’ve been using. The only bench testing I did was to put the 200mW video transmitter and camera in our microwave oven to attenuate the signal and see that I received the video with the antenna connected to the receiver. It worked; and by aiming the antenna in various directions the video got better or worse. Good enough…
Next Time – changes
Next time I would make the reflector from a etched and tinned singe sided pcb. I’d also use laser cut parts for the former making it more precise, easier to assemble and more robust for attaching the coil. The last major change would be to attach the matching tab to the coil before attaching the former/coil to the reflector.
It maybe a good idea to use something other than hot-glue to hold it together if it is to spend time out in the hot sun.
The plastic bottle cover is cheap, simple, works really well and is scalable to other frequencies..
Testing
The next step was a field test on the ground. We left the car parked beside the river with the FPV camera/transmitter and battery sitting on the dash with a cloverleaf antenna. With the receivers, antennas, a 3″ monitor and battery we walked off down the river. Every so often stopping to test reception and compare the skew-planar, new helical and a commercial patch. At about 1.4KM we ran out of clear line-of-sight; too many trees, which attenuate the signal.
At 1.4KM distance:
- The skew-planar provided a good picture that was a bit noisy; usable but with snow.
- The new helical provided a clear picture with no noise within about 30-degrees horizontal and vertical arc. Beyond 30 degrees it got more noisy as the angle increased.
- The patch provided a good picture but only when precisely aimed. any movement caused the picture to flash with interference.
For a longer range test I put the FPV camera/transmitter and battery in a plastic box on the roof and drove to a couple of higher locations within line of sight to see how it worked. At 2KM the picture was very good and it was not difficult to aim the antenna and maintain a good picture.
The next available raised point was 4.4KM away with clear line of sight. At this spot the picture was a bit snowy and it was much more difficult to aim the antenna to maintain the picture. There was only 5 to 10 degrees (H and V) of angle possible.
At 4.4KM the commercial patch and the skew-planar antennas didn’t work at all.
So far the helical looks like a good improvement on the skew-planar. The next step is to flight test it for close-in all-around coverage and usability at 500+ meters out.