 I have been considering replacing fluorescent tube and compact fluorescent lights with LEDs. So I decided to do a quick test with some LED strip.
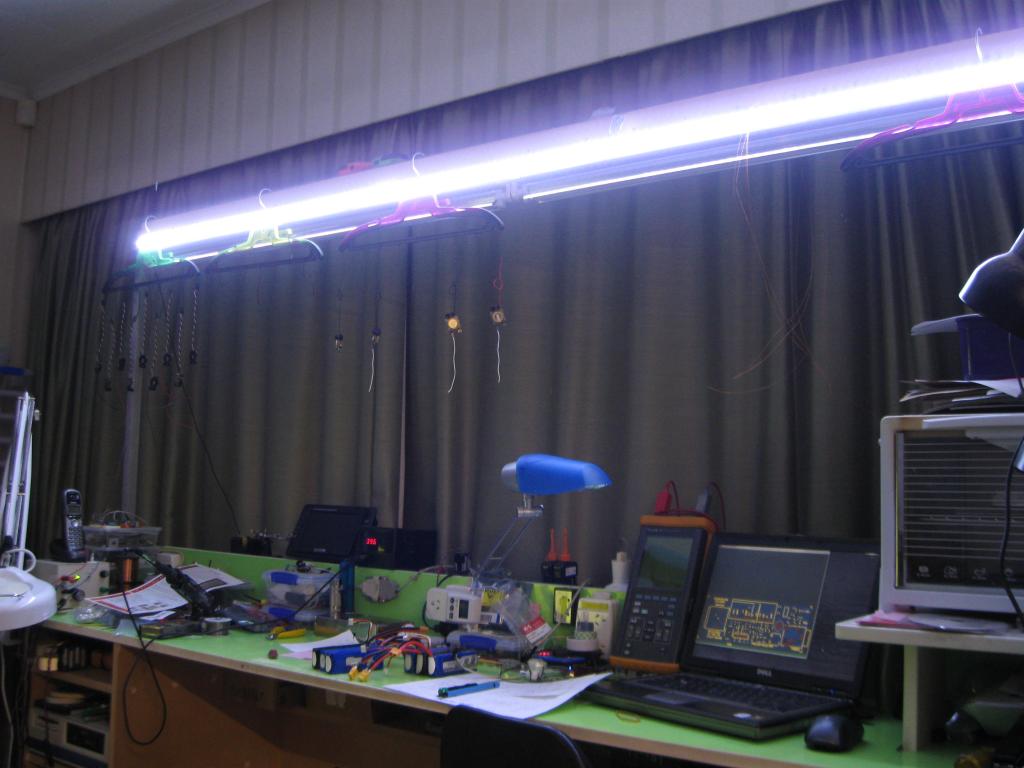
This picture shows the fluorescent tubes on and the LED strip dimmed to a low setting.
The LED strip is stuck to the side of the fluorescent fittings, so the lighting pattern is not a good comparison.
Conclusion
To achieve roughly the same light level would require about 2/3 the wattage of LEDs as we have of fluorescent lighting in the room. The advantage of LED strip is that it would provide more even lighting and can be dimmed when a lot of light is not needed. Dimming should also increase the life of the LEDs.
For good general coverage, three strips of LEDs would be required at the top-centre of 3 walls. This would be about 75 Watts of lighting but could probably be run at 20-30 watts most of the time.
The only problem
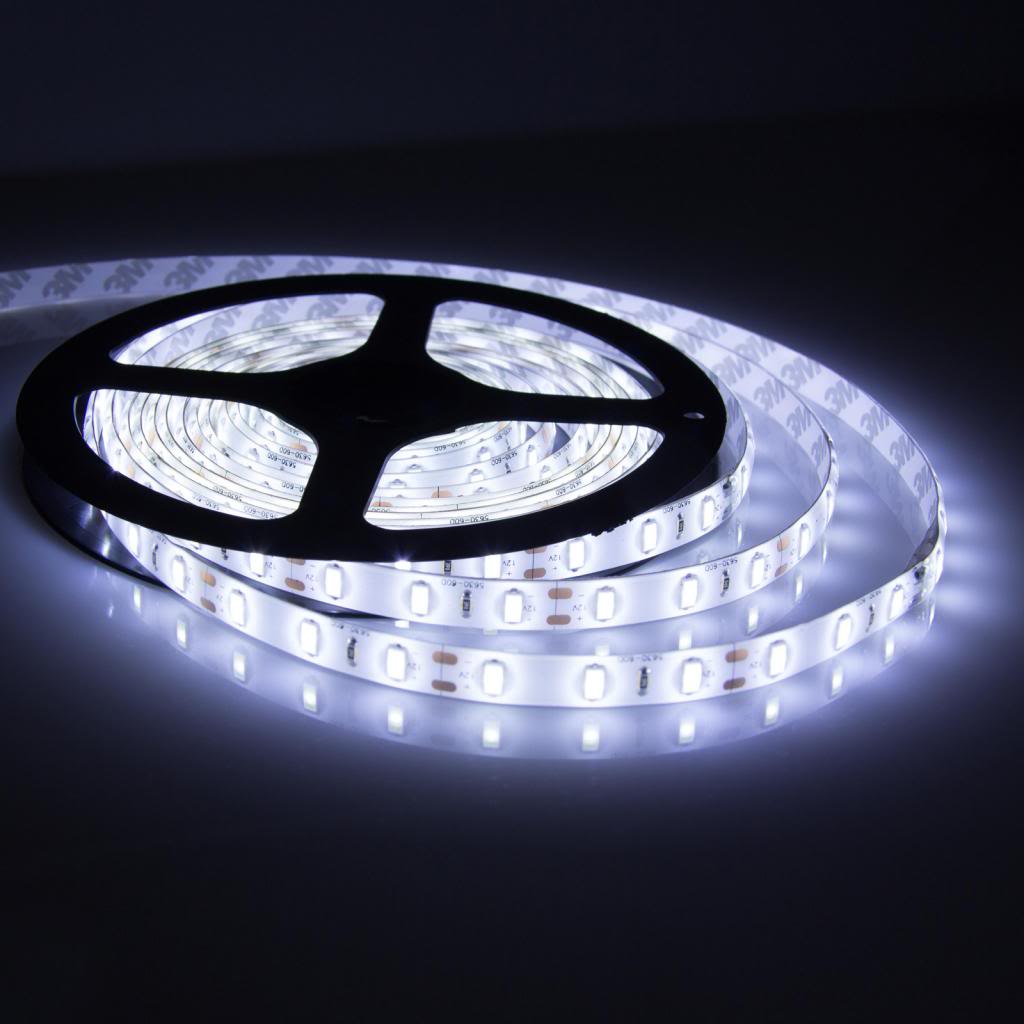
And it’s a big problem. On this LED strip the sticky back is totally useless. See below.
|
|
Useless Sticky backingHaving had this problem before, I cleaned the surface well and dried it before attaching the LED strip. But still, after a few minutes it begins falling off if not held in place. This makes the LED strip is almost completely useless without a lot more work. The peel-off tape had 3M written along its length, but I don’t believe it. This sticky is useless. You can remove the double sided sticky tape from the back of the LED strip without much effort. This LED strip is waterproof so it has a rubbery coating that feels oily although I don;t think it is. The next step would be to find a suitable replacement double-sided sticky tape. |

Advantages of LED lighting
- lower power for similar light output
- slower ageing when using good LEDs.
- no mercury (in fluorescent lamps)
Possible Disadvantages of LED lighting
- electronic regulator required
- reasonable LEDs require heatsinking
- regulator power loss and lack of long term reliability
- regulator safety and failure modes (fire risk ?)
- Other than simple lamp replacement, a lot of work to change over
What would be an ideal LED lighting setup
For this room: three 2M lighting strips consisting of LED strip attached to a alloy angle support, mount, heatsink, reflector. These would be mounted at the top of three walls mid-way and wired into the wall/ceiling. At the light switch would be a low voltage dimmer control.
Wiring would have to consider the 2 Amps draw of each strip at 12 volts. Alternatively the 2M strip could be made up of two 1M strips wired in series for a 24V supply, which would reduce the maximum current to about 1.2A per unit.
The switch/dimmer could consist of a ceiling mounted dimmable power supply and just the low voltage control switch in the room.
Update – Next Step
 Thinking about it some more, I like the idea of building this system. So I had a look at our local auction site (Trademe) for some more 5050 size 14W/M cool-white LED strip. Per 5M reel the price ranged from $33 to $130 +shipping. I don’t know what that seller is thinking at $130. Next stop, Ebay.
I have bought from Ebay six 5M reels of cool-white 5630 LEDs for about NZ$75 delivered.
The 5630 size LED is claimed to have about 1.5x the light output of the 5050 size I have been using, at the same power input.
Why strips and not 10W COB modules?
Because the strip provides light from a much larger area and greatly reduces shadows. The strip is also easier to build in to tidy fittings that provide natural heatsinking and cooling. The COB modules require large heatsinks or need fans.
The Plan
The plan is to test DIY LED strip fittings in two rooms.Each fitting will consist of polished alloy angle with one or two strips of LEDs each configured for 24V operation. The alloy will provide a tidy and easily mounted support for the LED strip and a reflector/baffle directing the light output to a little over 90-degrees from the 120-deg. of the LED strip alone.
First I will assemble a shorter test fitting.
I have a 24V battery backed power system for other gear, which can also supply the LED power.
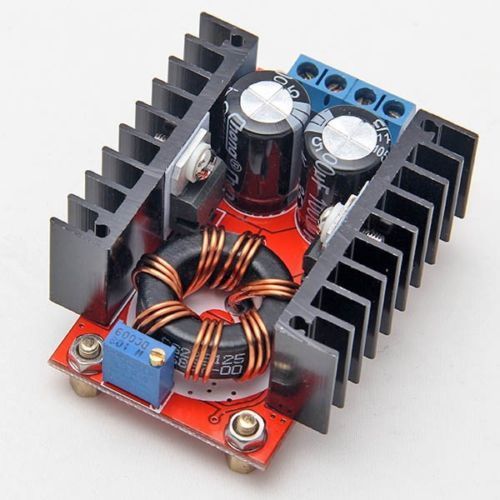 A low cost boost converter (here) will provide a regulated 28-30V to the dimming controller.I expect to have to put additional filtering on the input and output of the boost converter. Probably a good idea anyway since the wiring will run out 5-10 meters from the convertor.
Now I just have to design a dimming module for the control system.