I have been using the 5.8GHz 200mW FPV system from Hobby King rather than my original 2.4G system for a while now. So I was looking at the small 10mW 2.4G mini-fpv transmitters I built over a year ago and wondered how they would work with a cloverleaf antenna.
For now I think the best antenna combination for FPV is a cloverleaf on the plane and helical and skew-planar on the receivers. I’ve also been thinking that there must be a easier way to assemble the cloverleaf and skew-planar antennas.
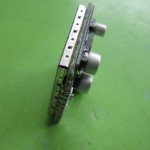
Construction
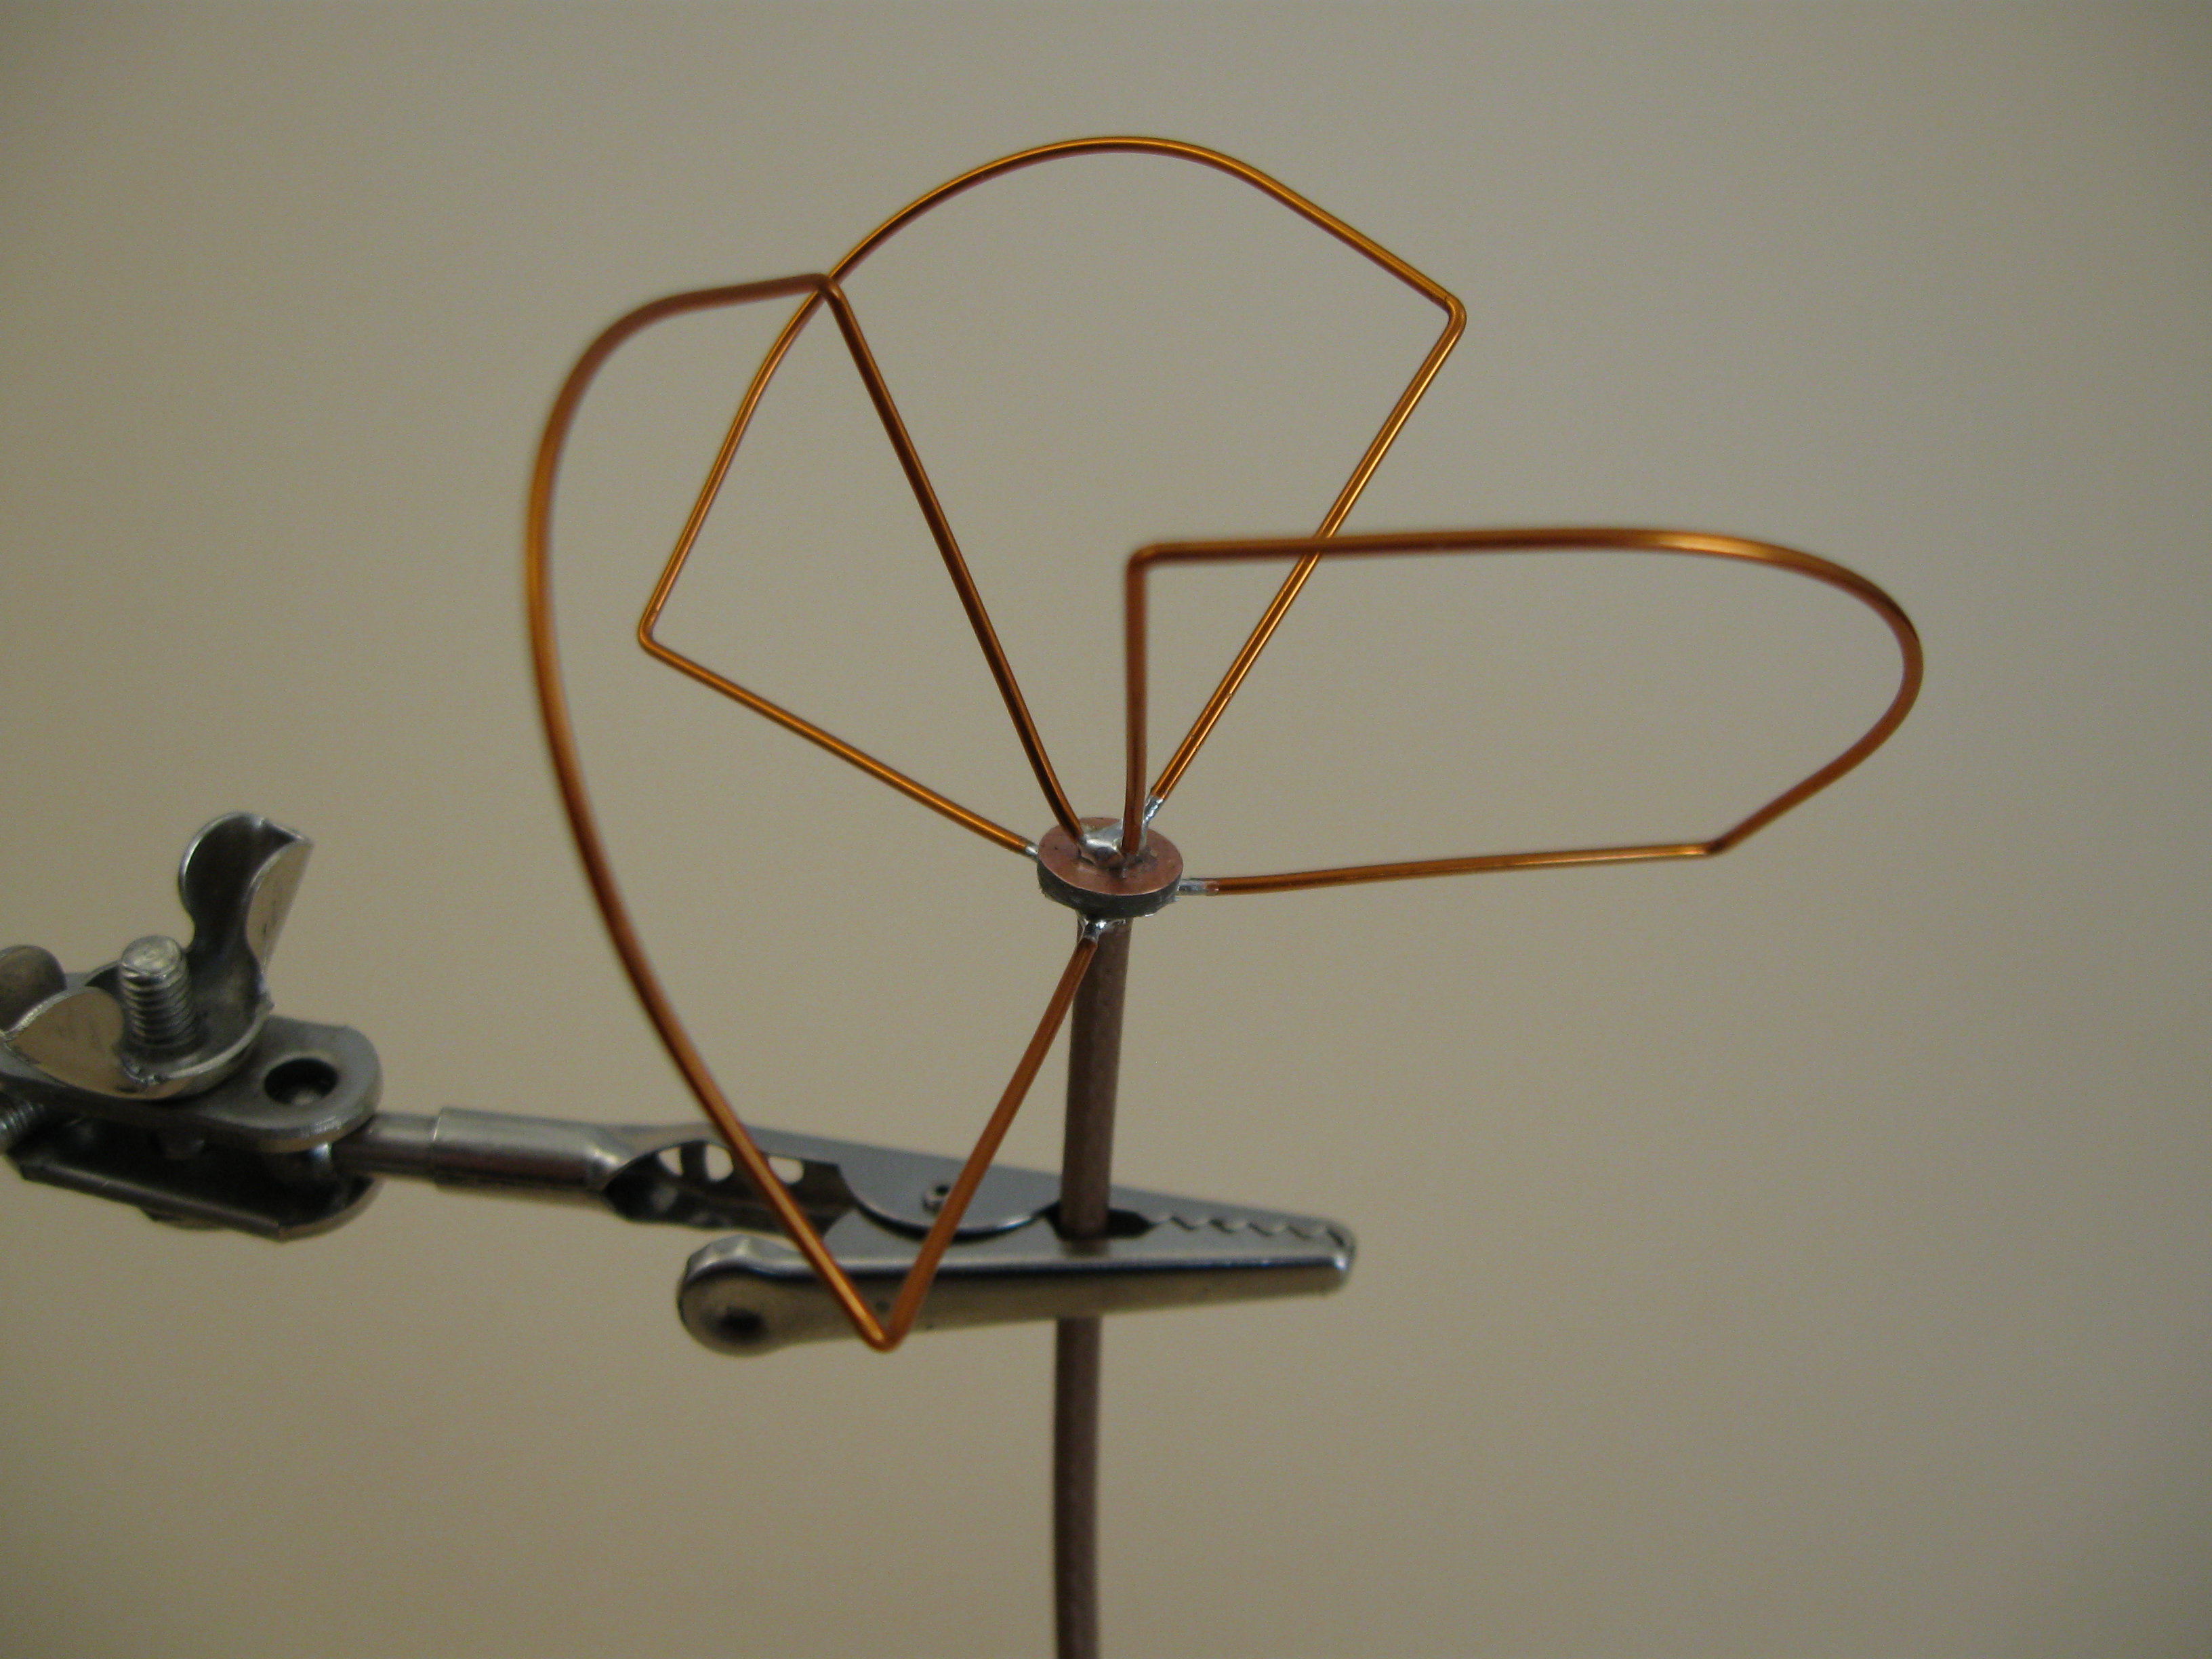
I made a small hub wheel of standard 1.6mm double-sided pcb laminate. The coax center conductor passes through the hole to the top and the screen solders to the bottom side. The elements are then attached to the bottom side at the appropriate angle. On the top, the other ends of the elements and the core of the coax are soldered together. The pcb wheel supports the elements so a bit of gentle bending can improve the alignment. The hub wheel was made by putting a 2.5mm screw with nut through a small scrap of pcb material and filing it down while spinning it in the drill press. The dimensions were calculated for channel 4 which I normally use. I didn’t put much effort into getting the dimensions exact and I did no tuning.
- 2.470GHz
- 124.3mm wire length
- 31mm end at 90-deg.
- 7mm diameter pcb hub with 2.5mm hole
- 0.8mm enamelled copper wire
Copper coated steel mig wire would be more robust, but I would have had to go out in the cold to get that from the garage, so enamelled copper it was.
Range Test
With a 10mW Airwave video transmitter module on channel 4 and a cheap CMOS camera we went off to the local river to test the range. This was just a point to point test along the ground. The camera/transmitter/antenna and a battery pack on a wooden stake that puts the antenna about 500mm above ground level. If the transmitter was on a model plane in the air, the range should be better.
The receiver was a matching Airwave module mounted on the back of one of the quad patches I made some time ago. The patch compares in performance to a 11dBi commercial patch. A small monitor and a battery make it portable.
With the stake pushed into the ground we wandered off to see how far it would go. At about 600 meters the patch was easy to aim for a good picture and polarization didn’t matter. At 1000 meters the picture was good but the patch had to be aligned with the transmitter within about 15 degrees. At 1.6KM the picture was noisy and only visible with optimal alignment.
Next Step
Next step is to test it on a small RC plane. I’m hoping it will provide 500+ meters of reliable FPV range; which is about all you need for simple fun flying. If it works out, I’ll build a helical for 2.4G.
-
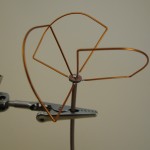
- 2.4G Cloverleaf
-
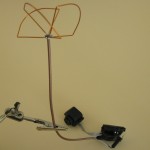
- Camera, VTX, Antenna

-
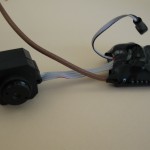
- Camera and VTX

-
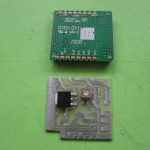
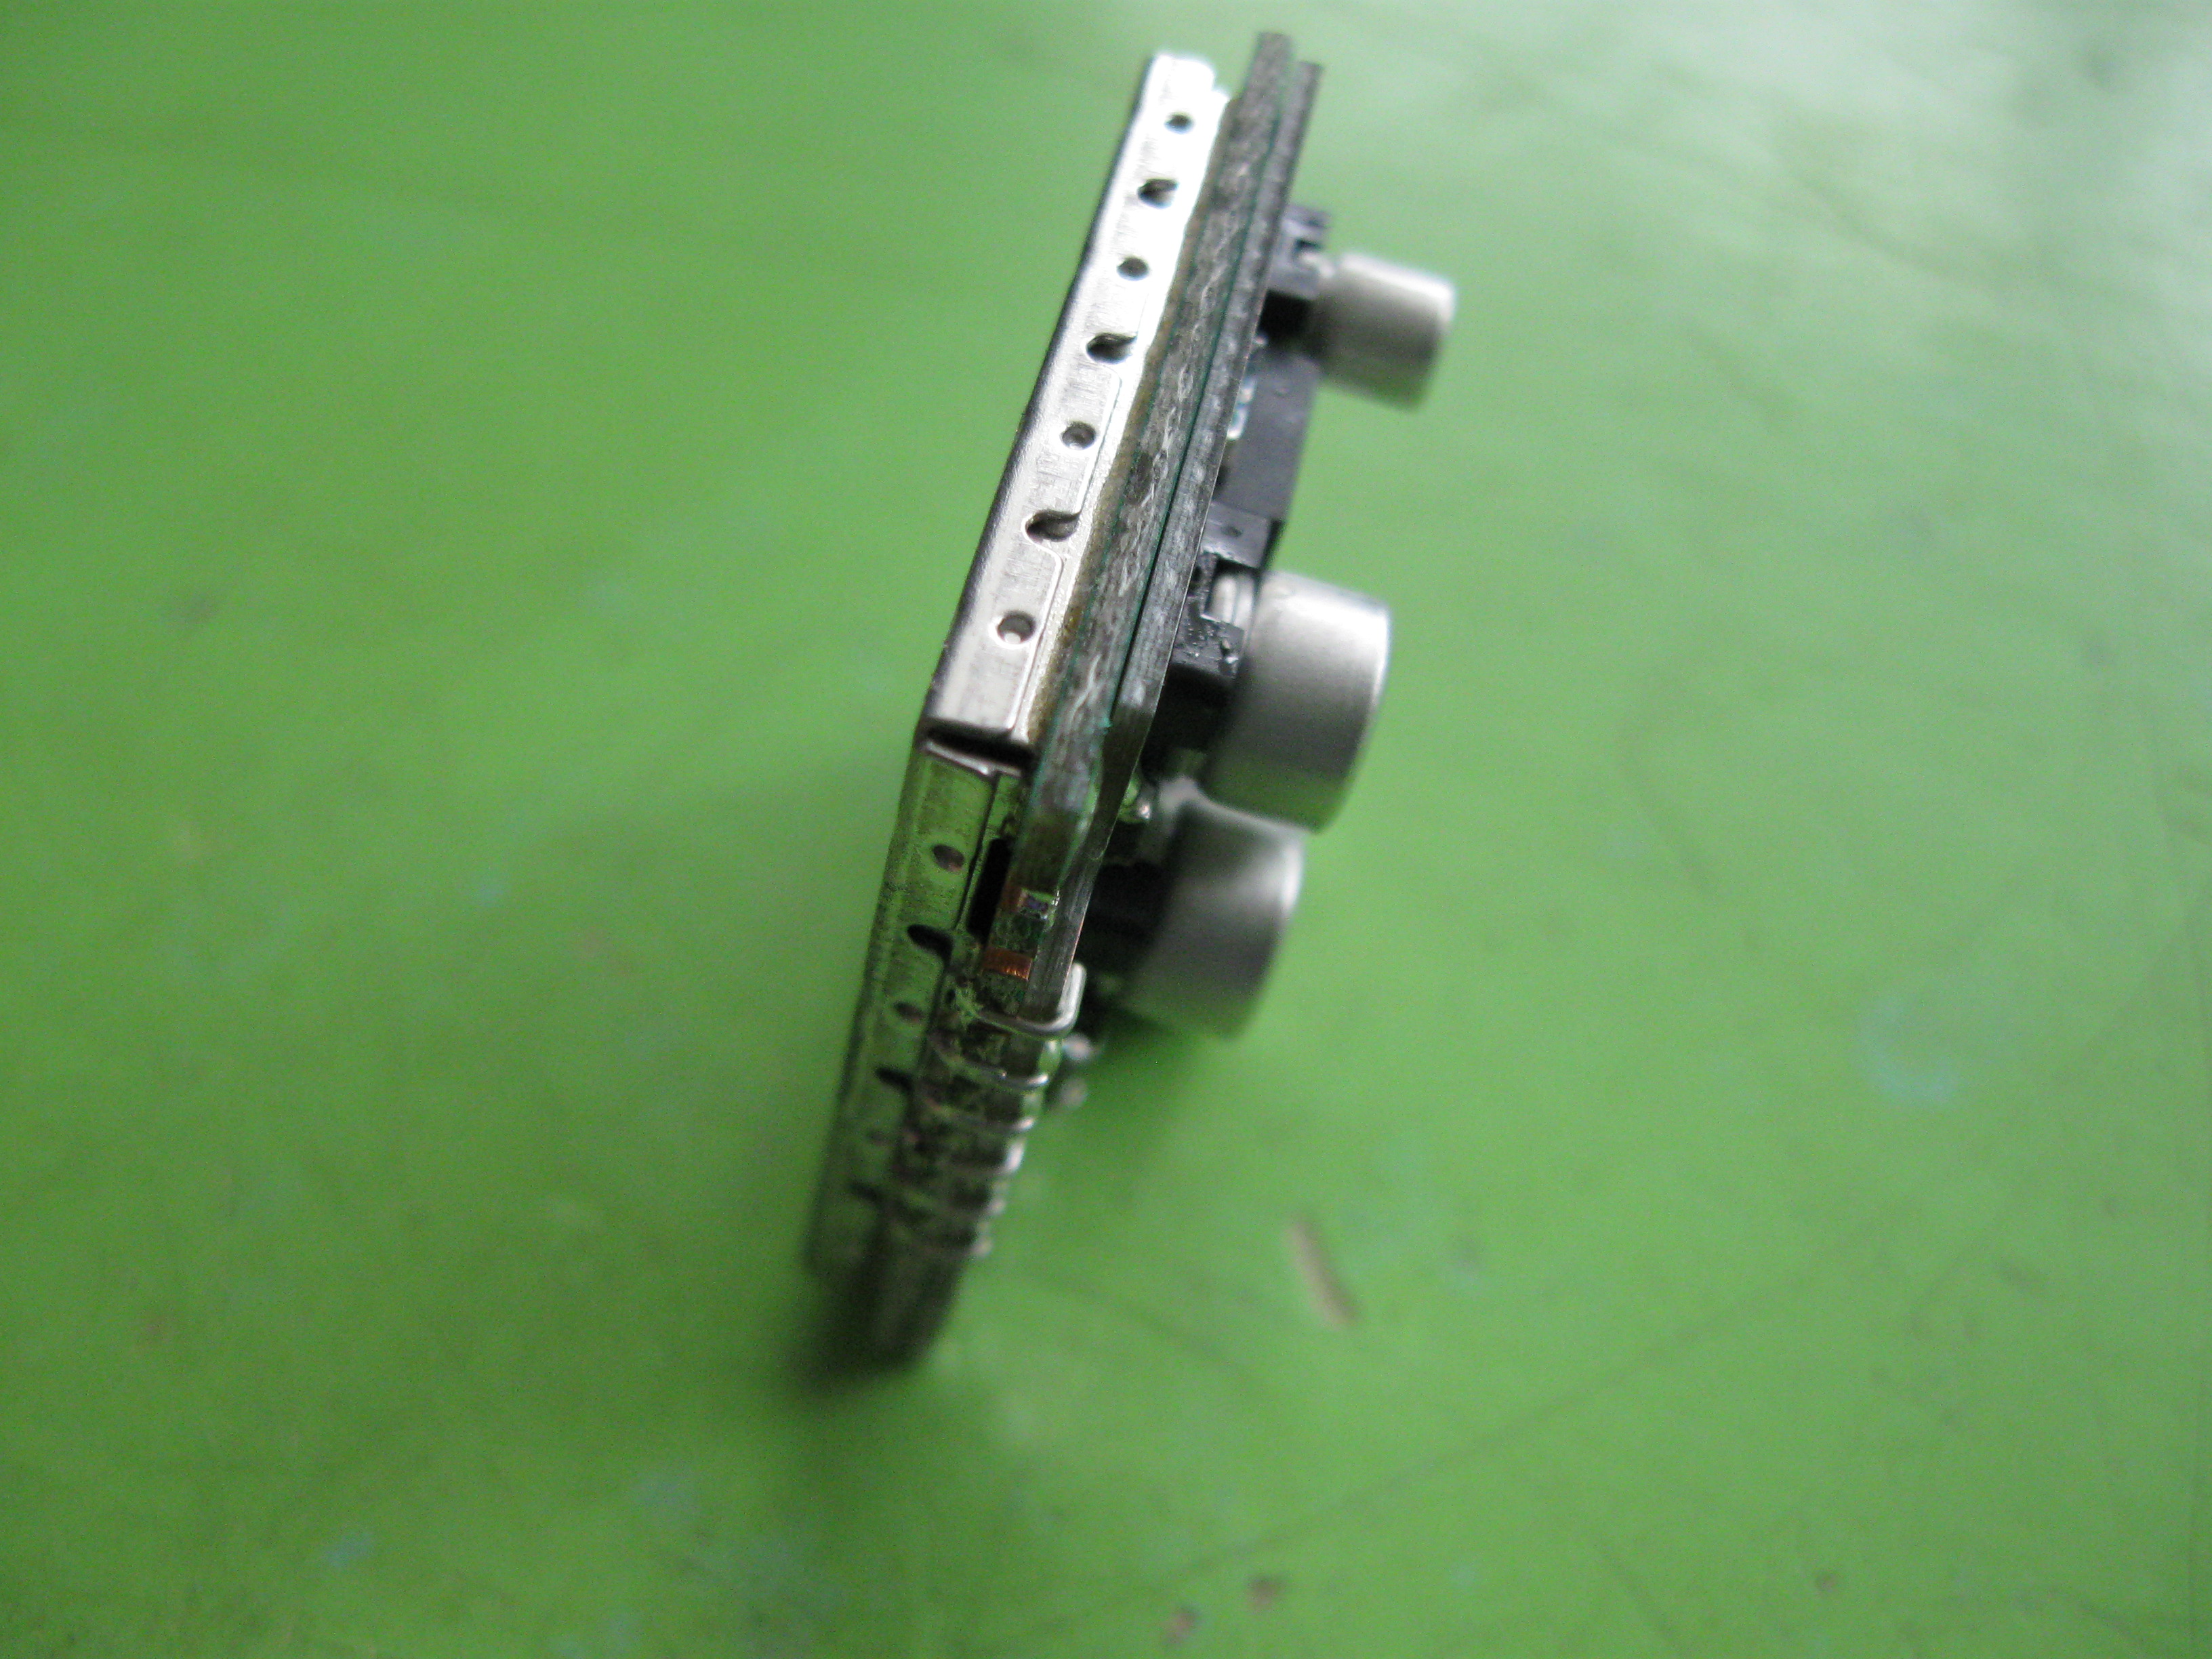
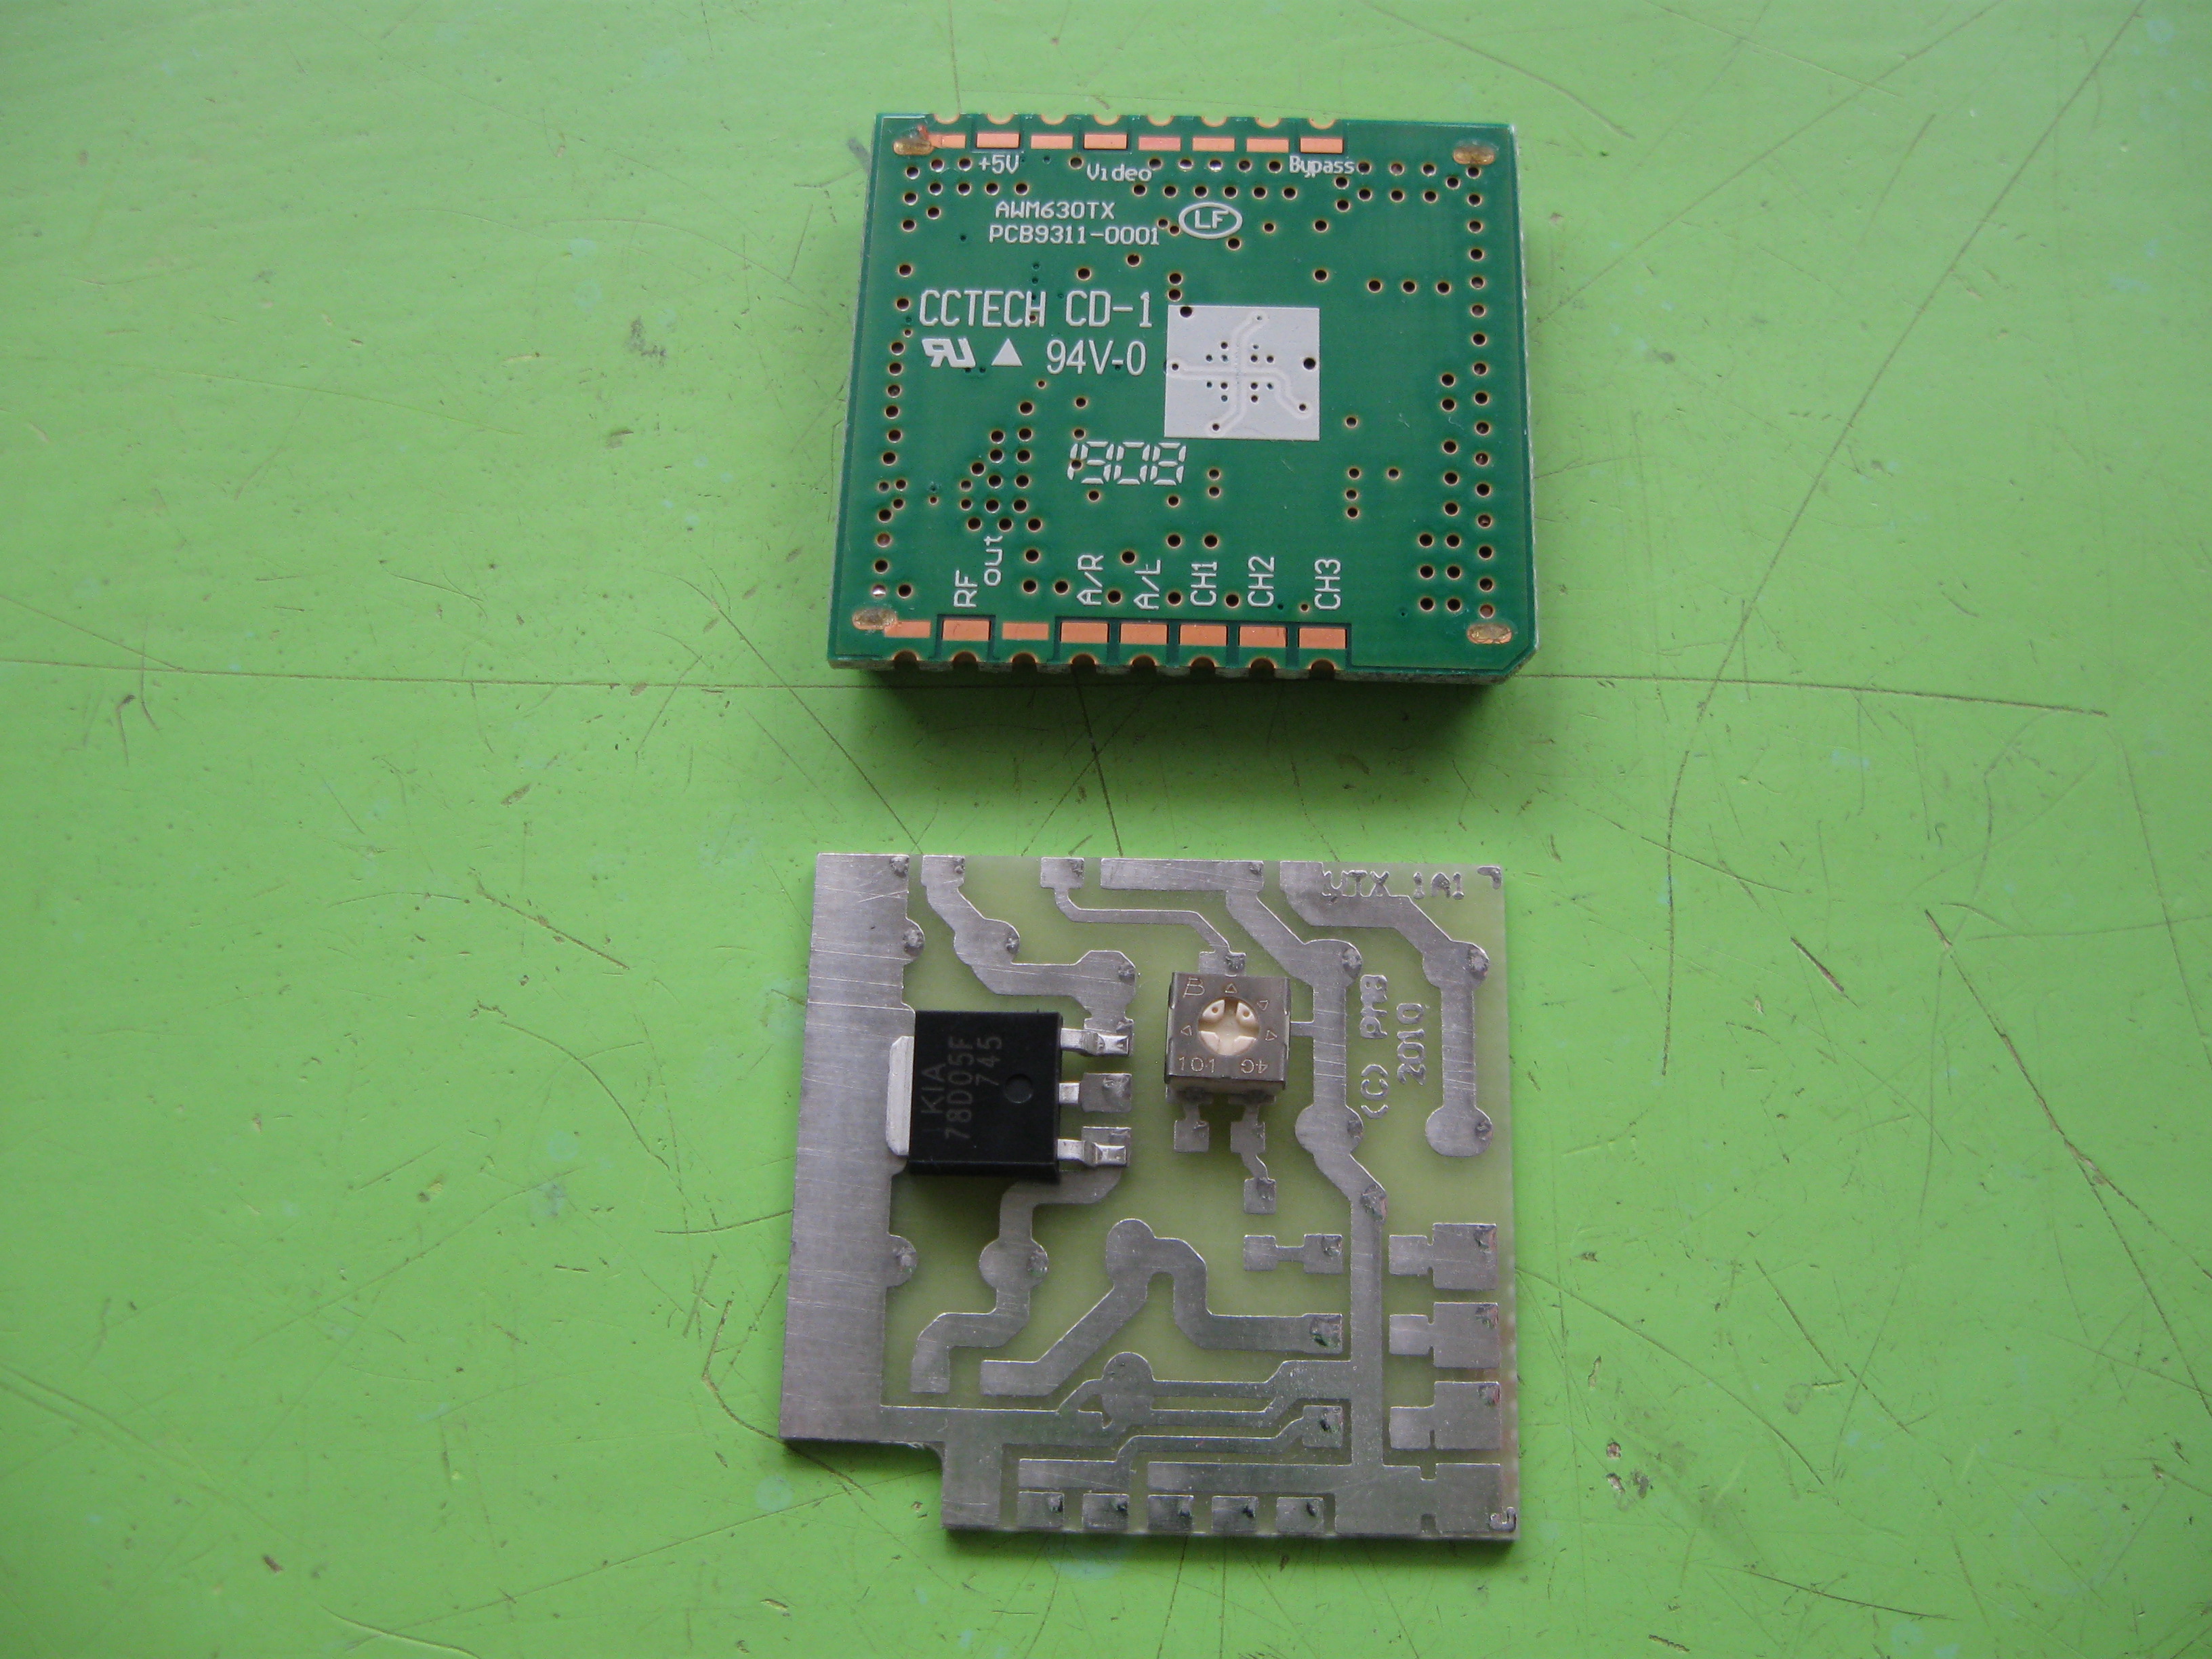
- Mini VTX module
-
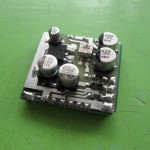
- Mini VTX module

-
- Mini VTX module